As of last August! Yup...this post is about 7 months late. My computer was having "cookie" issues (I have "cookie" issues, too...leading to the breakdown of my annual New Year's Resolution) and I was unable to log into blogger, and too lazy to figure out another way. But recently Pete introduced me to Google Chrome and cookie issue solved!!
Anyway, here's a little tour of the (not so) recently completed basement!
Half Bath:


I based the color scheme off the canvas above that we've had for awhile. We bought a super cheap vanity, top and faucet set at Williams Outlet, which ended up being smaller than what we planned, so we filled the space with a storage tower from Target. The room could use a bit more styling, but eh...it's a basement bathroom. I don't use it very often, but every time I do, I think, "Oh yeah...I need to do something with this" and then I return to crafting in my fabulous craft room and forget about the boring half bath.
Hallways:

This hallway is at the bottom of the stairs. We hung an IKEA curtain rod with clips for future artwork display, and also frames for pictures of each kid (no, that is not an announcement). Ben's 1st Birthday cards are proudly displayed until he starts producing art.

This hallway leads to the main family/play room. I made these french memo boards out of cork board and fabric from Hobby Lobby. Super easy and cute. If you want to know how to make one, let me know. I'll show you :)
Craft Room :
(AKA Most Important Room in the House)


Ah, craft room...I've been waiting for you. As some may know, I had a fantastic craft room at my first bachlorette pad. I loved it and have been waiting for a designated craft space ever since. It was so much fun to design the space for form and function. There is a sewing area on one wall. I made an ironing table by upholstering the top of an old changing table I inherited. It works great! Another wall houses miscellaneous craft storage and my Cricut. My scrapbooking stuff and countertop occupies and third wall. I saved space by moving lots of items up the wall with a bunch of IKEA kitchen storage items. The closet has a lot of storage, and instead of a door, I hung a "curtain" that is actually a bed sheet! It was cheaper and easier than hanging a door and adds a pop of pattern to the room without the permanence of wallpaper. The fourth wall will become the kids' art area, but that will require another trip to IKEA - and some time to save $$$!
Playroom:
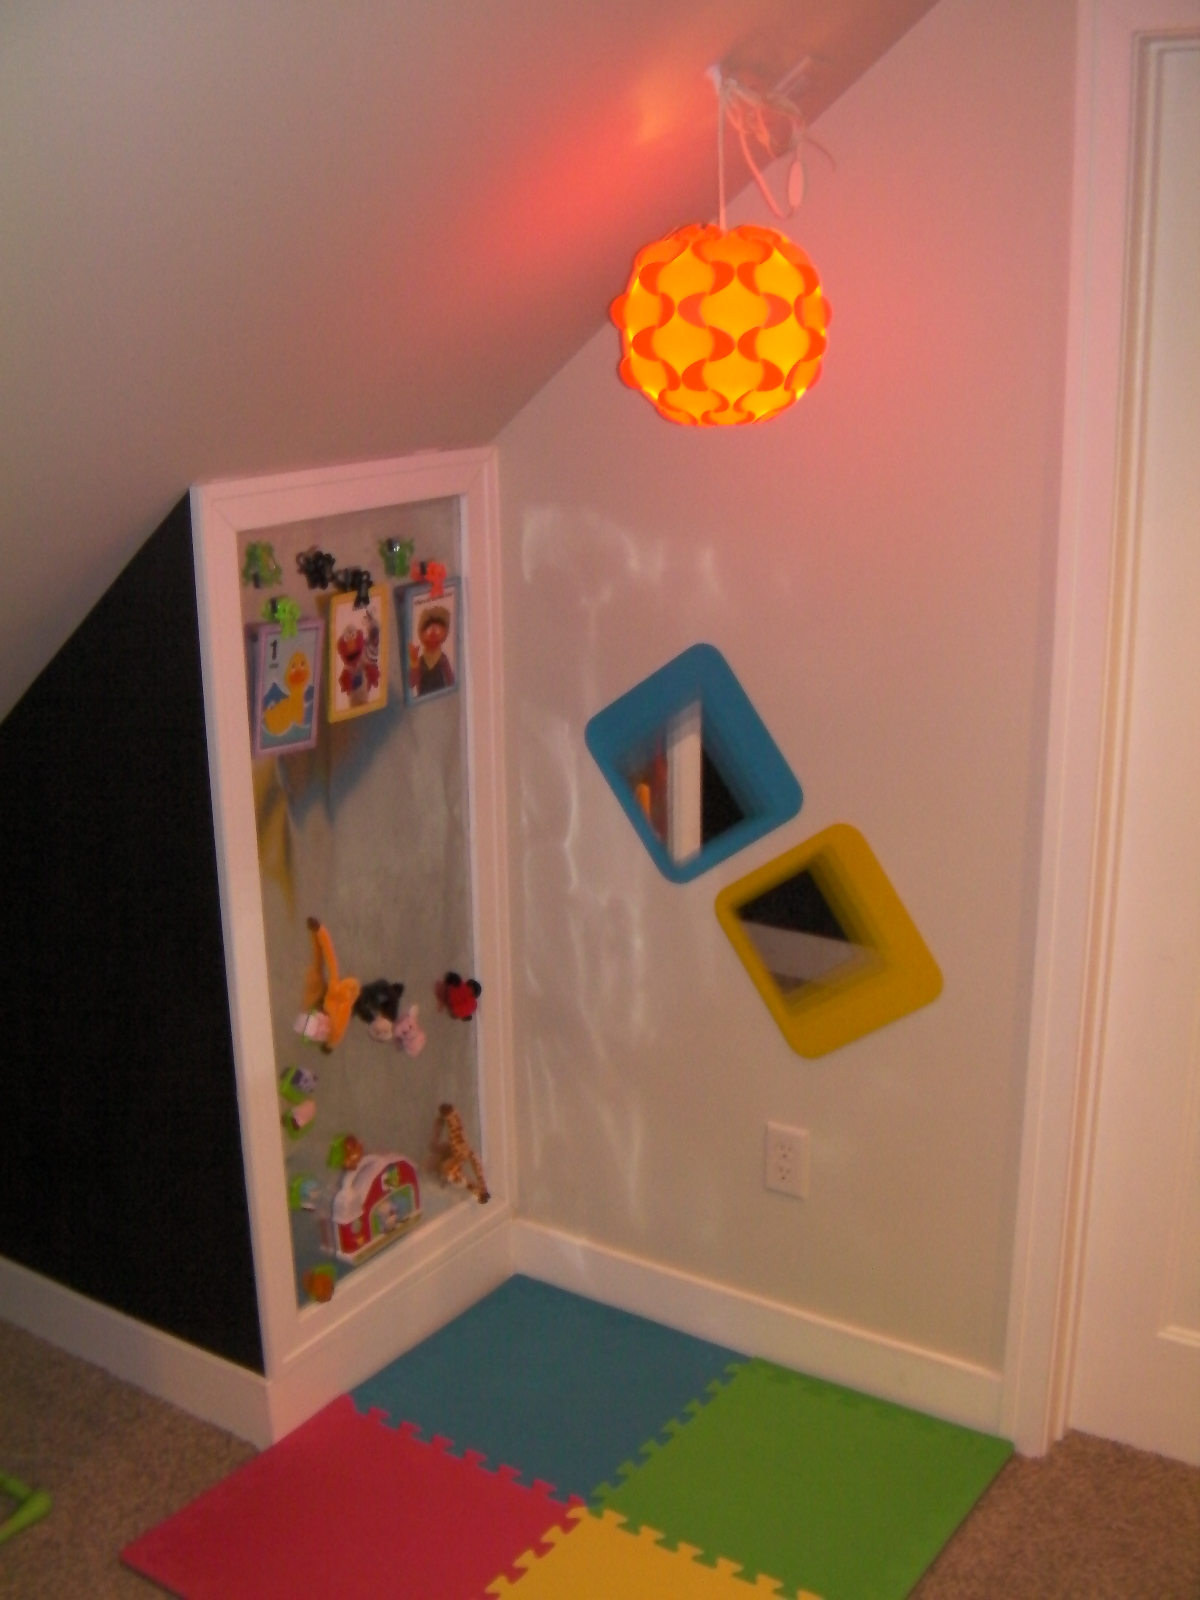


This was also a fun space to design. It is full of Pinterest inspired projects. There is a magnet wall made from a piece of HVAC duct, a cubby under the stairs painted in chalkboard paint, a storage bench made from a converted kitchen cabinet ($10 at Williams Outlet!), and a little art project - the making of which taught me that painting is not in my wheelhouse. I'm pretty happy with how the space turned out and it has been getting a lot of use. We love having friends come over to play!
Family Room:


We reserved a little bit of the playroom as "adult space". The furniture is what we had been using as the main furniture until we added the new sectional upstairs. We purchased a new entertainment unit for the TV and some CD storage for the wall above the couch, but this space didn't require much work.
So there you go. The house is (was seven months ago) finished. Officially.
Now it's time to sit back and enjoy it....
...until spring when the yard work, gardening and fence painting recommences.